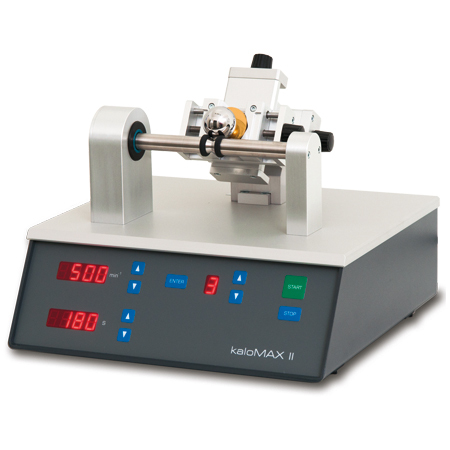

- Fast and easy layer thickness measurement
- Measurement of single layer and layer systems
- Measurement independent of the material
- Comfortable operation
- Precise measurement without calibration
The ball crater test (Calotest) is a well established method for the determination of layer thickness. With a rotating steel ball and an abrasive slurry, a spherical cap is ground through the coating into the base material of the sample. When examined with a microscope, the layer/base material interface appears as a circle or, in case of a multilayer coating, a system of concentric circles. The layer thickness can be calculated from the diameters of these circles and the diameter of the grinding ball.
This purely geometrical method gives highly accurate results even for layer thicknesses in the range of micrometers.
Evaluation and documentation can be further simplified by the software kaloSOFT and a camera-equipped microscope.


| Range of application: | |
| Layer thicknesses | Approx. 0.3 – 30 μm |
| Diameter of the spherical cap | Approx. 0.1 – 2 mm |
| Measurement accuracy | 1 – 5 % (dependent on surface roughness) |
| Characteristics: | |
| Ball diameter | 15 – 30 mm |
| Clamping range for plane samples | 50 mm |
| Clamping range for round samples | 3 – 30 mm (clamping jaw for other dimensions on request) |
| Cross table travel | 25 x 25 mm |
| Incline of sample level | 60 degrees |
| LED displays (14 mm height) | 4 digits number of revolutions |
| 4 digits runtime | |
| 1 digit program number | |
| Number or revolutions of the drive shaft | 100, 200, 300, 400, 500, 600, 700, 800, 900, 1000, 1100, 1200 1/min |
| Running periods | 5, 10, 15, 20, 25, 30, 35, 40, 45, 50, 55, 60, 70, 80, 90, 100, 110, 120, 150, 180 s |
| Input voltage range | 85 – 264 VAC |
| Input frequency range | 47 – 63 Hz |
| Dimensions | 300 x 295 x 235 mm (w / d / h) |
| Weight | Approx. 8 kg |
- Spherical cap grinder (Calotester) kaloMAX II with cross table
- Power supply
- Manual
- Detachable vice
- Grinding paste of various granulation
- Various microscopes equipped with high resolution cameras
- Evaluation software kaloSOFT
- All-in-one solutions
- Automated models
| kaloSOFT - Measuring of calottes | kaloSOFT Software for measuring spherical caps |


